Step 3: Adding Content
Once your template layout is created, you will be in the Dreamweaver design mode by default. The Dreamweaver design mode is a WYSIWYG editor, which just works like Microsoft Word.
Inserting Text
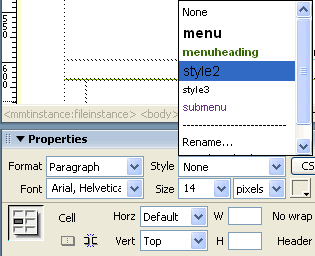
You can type in text just as you would in any text editor, such as Microsoft Word. You can also apply styles to the text from the Properties panel located at the bottom of the screen.
Inserting Images
Place the insert point where you want the image to appear on the web page, then, select Insert > Image. You can align an image in relation to text, another image, or other elements in the same paragraph. To align an image select the alignment option from the align drop down menu from the Properties panel.
Creating Links
Highlight the text or click on the image you want to appear as link, then, select Insert > Link. In the URL box, type the URL, then, click OK.
Inserting Forms
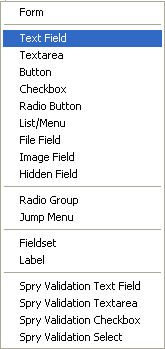
Select Insert > Form, and choose the corresponding form element you want to insert.
 Please note: If you want to create a contact form, you will need php, asp or cgi script to work with your form. You can also make use of free services available.